YZC-131 Mini Load Cell 3KG Weighing Kitchen Scale
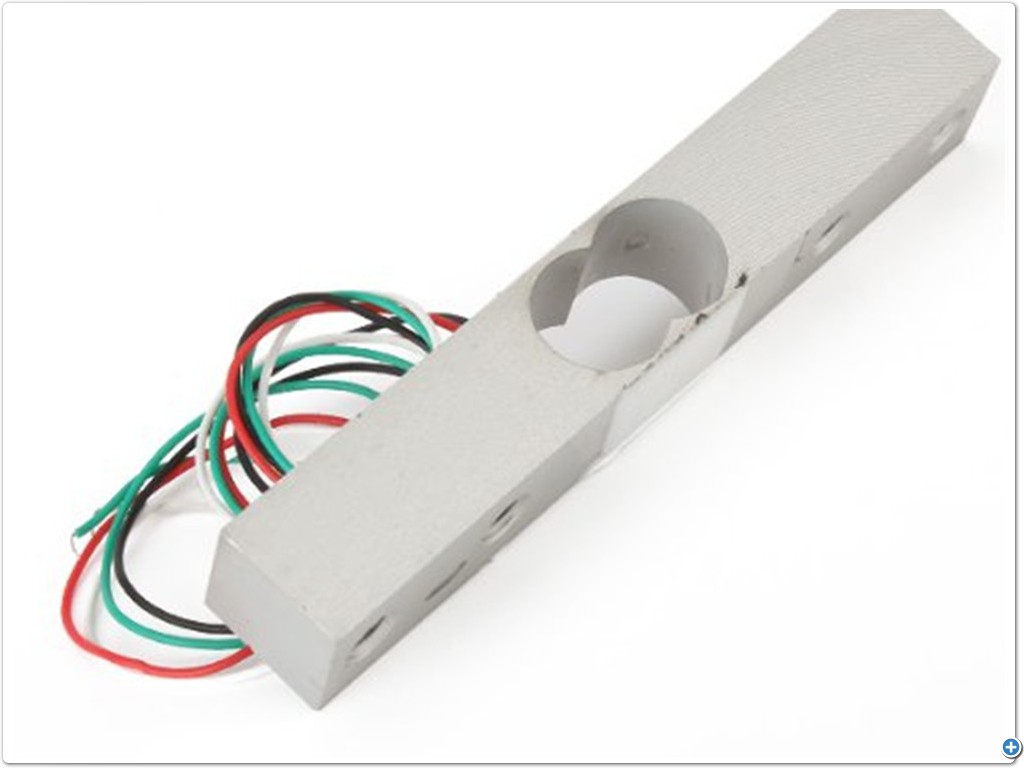
YZC-131 Mini Load Cell sensor 3KG Weighing Kitchen Scale, also known as a strain gauge, is capable of converting a maximum of 3 kg of pressure into an electrical signal. It can detect changes in electrical resistance which are directly proportional to the applied strain, such as pressure or force, on the bar.
YZC-131 Mini Load Cell 3KG Weighing Kitchen Scale allows you to accurately determine an object’s weight, whether it fluctuates, or if you need to detect its presence by measuring strain or load on a surface. Made of sturdy aluminum alloy, this straight bar load cell can handle weights up to 1KG.
YZC-131 Mini Load Cell 3KG Weighing Kitchen Scale comes equipped with four lead wires, which can be conveniently attached to the HX711 A/D Pressure Sensor. It operates smoothly with a driving voltage of 5-10V and generates output voltage corresponding to any changes in force applied to it.
Installing the Sensor is a straightforward process. One end must be secured through the screw hole while the other end is left in a floating state. Pay close attention to the label indicating the direction of gravitational force and avoid pushing directly on the white plastic cover to prevent any damage.
An electronic weighing machine utilizes a load cell that converts pressure or force into an electrical signal. This method is typically achieved through the use of strain gauges, with most load cells following the Wheatstone bridge formation, which employs four strain gauges.
As we load the strain gauge, the resistance will vary, resulting in a change in the output voltage of the load cell. YZC-131 Mini Load Cell 3KG Weighing Kitchen Scale allows us to accurately measure the applied load.
The 24 bit HX711 Analog to Digital Converter.
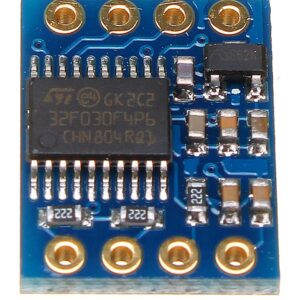
The HX 711 is a specifically crafted 24-bit analog to digital converter (ADC) for use in weigh scales and industrial control systems. Its purpose is to directly connect with a bridge sensor.
To properly wire the Load cell and HX711 module, match their color-coded wires. Then, connect the DAT pin to A1 on the Arduino Analog pin and the CLK pin to A0 on the same board. Finally, draw power from the Vcc and GND pins on your Arduino’s power source.



There are no reviews yet.