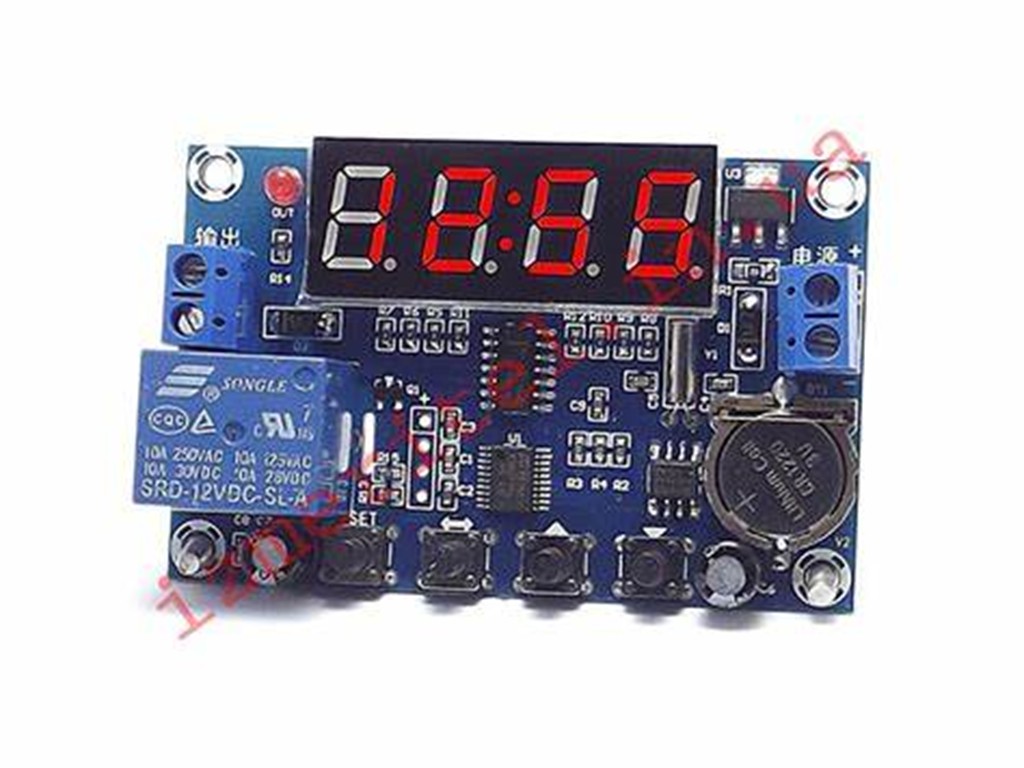
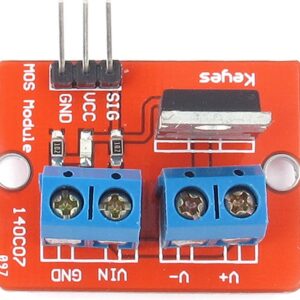
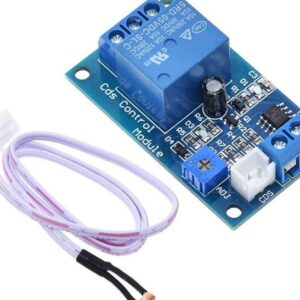
XH-M196 Clock Control Module
- The parameter table for the code is set in this way.
- P0 configured the live mode.
- P1-P2 established the first period
- P3-P4 initialized the second period.
- Period 3 was established by P5 and P6.
- Time required for P7 calibration.
- Can you please rephrase the paragraph below to avoid repeating the same information?
- While setting up, there were no keystrokes that automatically confirmed a 10-second delay.
- Specify a start time that precedes the end time. If the start time is after the end time, the setting will not be valid.
- This XH-M196 Clock Control Module requires a one-day setup for three working periods.
- If you only require a specific period of time, the remaining duration will automatically be set to match it.
- To access setup mode, simply press the SET key.
Establishing an initial time frame:
- Can you please guide me on how to set the rice cooker to turn on at 5:00 pm and automatically switch off at 6:00 am?
- To enter setup mode, press the SET key and then use the raised button, labeled as P1 on the display. Once P1 is flashing, use the toggle key to choose a single number for the desired time. To make small adjustments, utilize the up and down buttons. The setting will be finalized once the time is set to 17:00 or later. Press the SET button again to confirm P1 and then use the increase button to select P2. Set the time for P2 by pressing the SET button and entering 18:00. This concludes setting for the first period (P1).


There are no reviews yet.